Creating the Workspace
You need to create and configure an Eclipse workspace capable of interacting with the JBoss application server when you are running or debugging the application.
- Launch Eclipse.
-
When prompted for a workspace, choose the path to the directory that you extracted the source files to.
The empty workspace is opened, as you have not yet imported the projects into Eclipse.
-
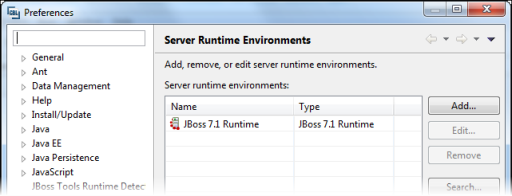
On the
Window menu, choose
Preferences, then choose
.
The Server Runtime Environments pane appears.
- Click Add.
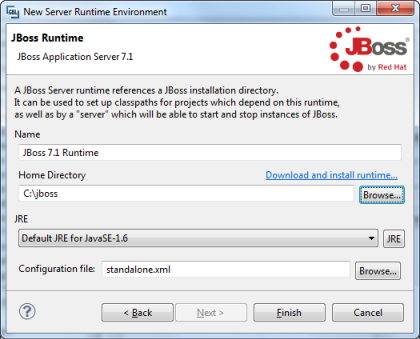
- If you have previously downloaded the JBoss 7.1 server adapter on this machine, in the Select the type of runtime environment field, type JBoss 7.1, then select JBoss 7.1 Runtime from the list displayed; otherwise, you need to download and install it:
- Click Next.
- Ensure the Home Directory field points to the directory in which you have JBoss installed; if not, amend it.
- Set the JRE option to a Java run-time version compatible with the version that the projects will be deployed against.
-
Click
Finish.
The JBoss 7.1 run-time is installed for this workspace.
- Click OK.